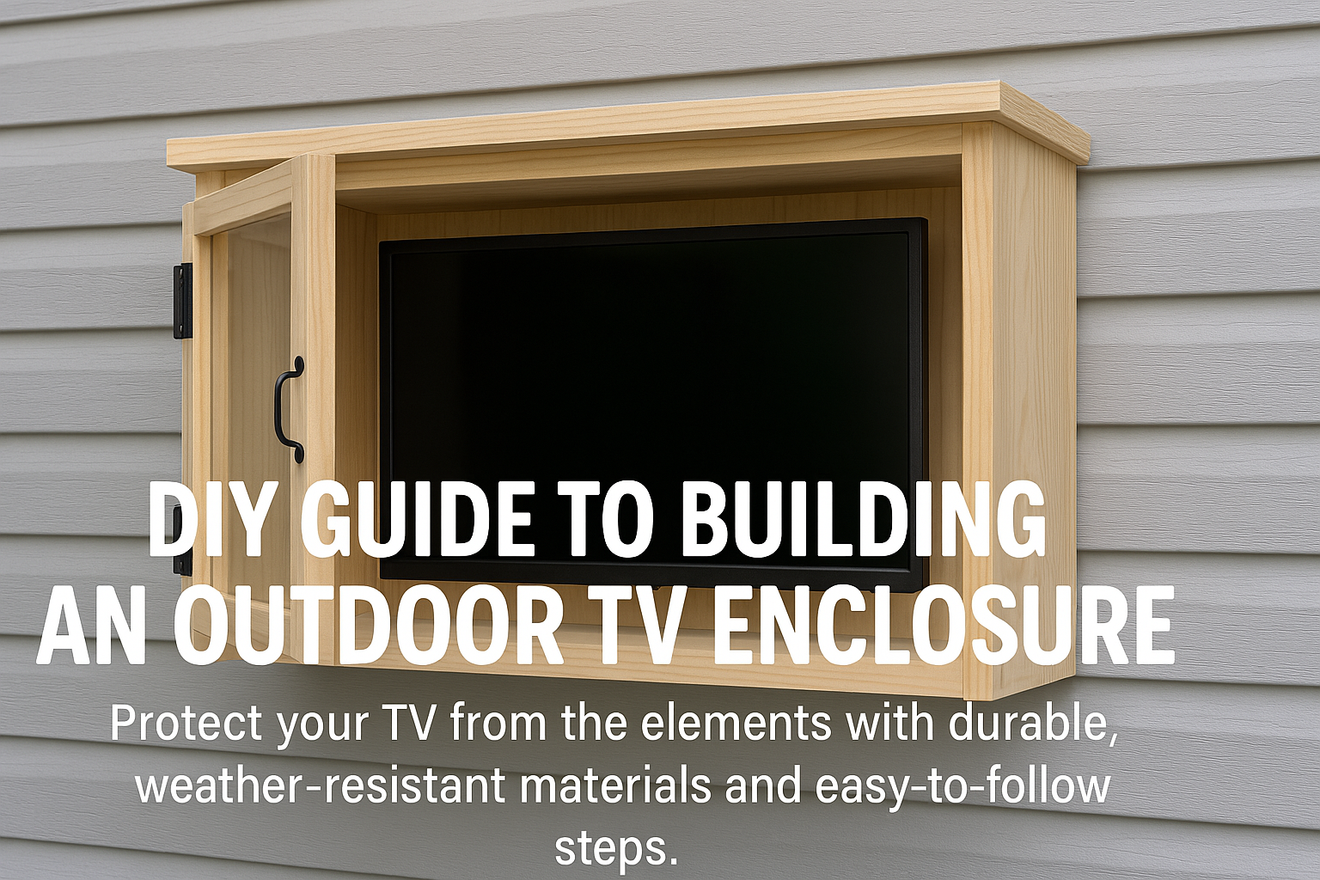
Step-by-Step Guide
1. Design and Planning
TV Size & Location: Measure the size of the TV and select a suitable location for installation. Make sure the location allows for adequate ventilation, protection from the weather, and easy access for maintenance.
Dimensions of the Enclosure: Ensure the enclosure will be at least 3-4 inches larger than the TV on all sides to accommodate space for ventilation and easy mounting.
2. Materials Needed:
Wood (for the frame): Choose weather-resistant wood like treated pine or cedar.
Amount: Approximately 4-6 planks, 6 ft long each.
Transparent Panel (for the door): Polycarbonate or acrylic sheet.
Size: The same dimensions as the TV, or slightly larger (for the door).
Amount: 1 sheet.
Hinges (for the door): Stainless steel to prevent rust.
Amount: 2-4 hinges (depending on door size).
Weatherproof Sealant or Rubber Gasket: To seal edges and prevent water ingress.
Amount: 1-2 tubes of weatherproof sealant.
Screws: Stainless steel screws, to avoid rust.
Amount: Approx. 20-30 screws (size: 1.5 inches for wood frame assembly).
L-Brackets: For mounting the TV securely.
Amount: 2-4 L-brackets.
Ventilation Grills: Mesh or vented covers to prevent overheating.
Amount: 2-4 ventilation grilles, depending on enclosure size.
3. Cutting the Wood and Preparing the Frame
Cut the wood pieces to fit the desired frame dimensions, ensuring the length and width match your TV size. You’ll need:
4 vertical side pieces (to form the frame)
4 horizontal pieces (top, bottom, and back frame)
Ensure the back piece has a hole for the cables.
4. Assembling the Frame
Screw the pieces together using the stainless steel screws to form the frame. Use wood glue for extra durability.
Amount of screws: 20-30 screws for frame assembly.
5. Installing the Transparent Panel
Attach the transparent panel (acrylic or polycarbonate) to the front of the frame using weatherproof sealant or screws (depending on your design).
Hinge Installation: Install the hinges on the panel so that it opens and closes easily.
Amount of screws for hinges: 8 screws (4 screws per hinge).
6. Ventilation & Cable Management
Drill holes or install vented covers at the back or bottom of the enclosure to allow proper airflow and prevent the TV from overheating.
Cable Ports: Cut a hole or install a waterproof cable pass-through to manage the TV's power cables.
7. Installing the TV
Use L-brackets to securely mount the TV inside the enclosure. Make sure the TV is properly supported and aligned with the frame.
Amount of screws for TV mounting: 4 screws per bracket (8 screws total if you use two brackets).
8. Final Assembly and Testing
Seal all edges with weatherproof sealant to ensure no water or dust can enter the enclosure.
Test the TV by plugging it in and turning it on to make sure everything is functioning correctly.
9. Painting/Protecting the Wood (Optional)
Apply weather-resistant paint or stain to the wooden parts of the enclosure to protect against UV damage and moisture.
Amount of paint: 1 can of weatherproof wood paint should suffice.

